Sunday 26 May 2013

QUILT SHOW DONATIONS

Even though the local quilt show isn't until the Fall, I've started working on a couple donations for the small quilt raffle.   

I went through some old quilt blocks and found this one, that with a little bit of help, could be a cute raffle quilt.  The block was sandwiched and machine quilted around the design.  It was bound using a blue and yellow print.  The centre yo-yo was attached face-down (I'm not a fan of yo-yo's), adding dimension.  A quick label was added to the back.  


I came across a few half-triangle squares, with the coordinating fabric and batting packed away in a zip-lock bag, just waiting to be completed.  I'm sure that the fabric and half completed block was given to me quite some time ago.  Just look at that calico!


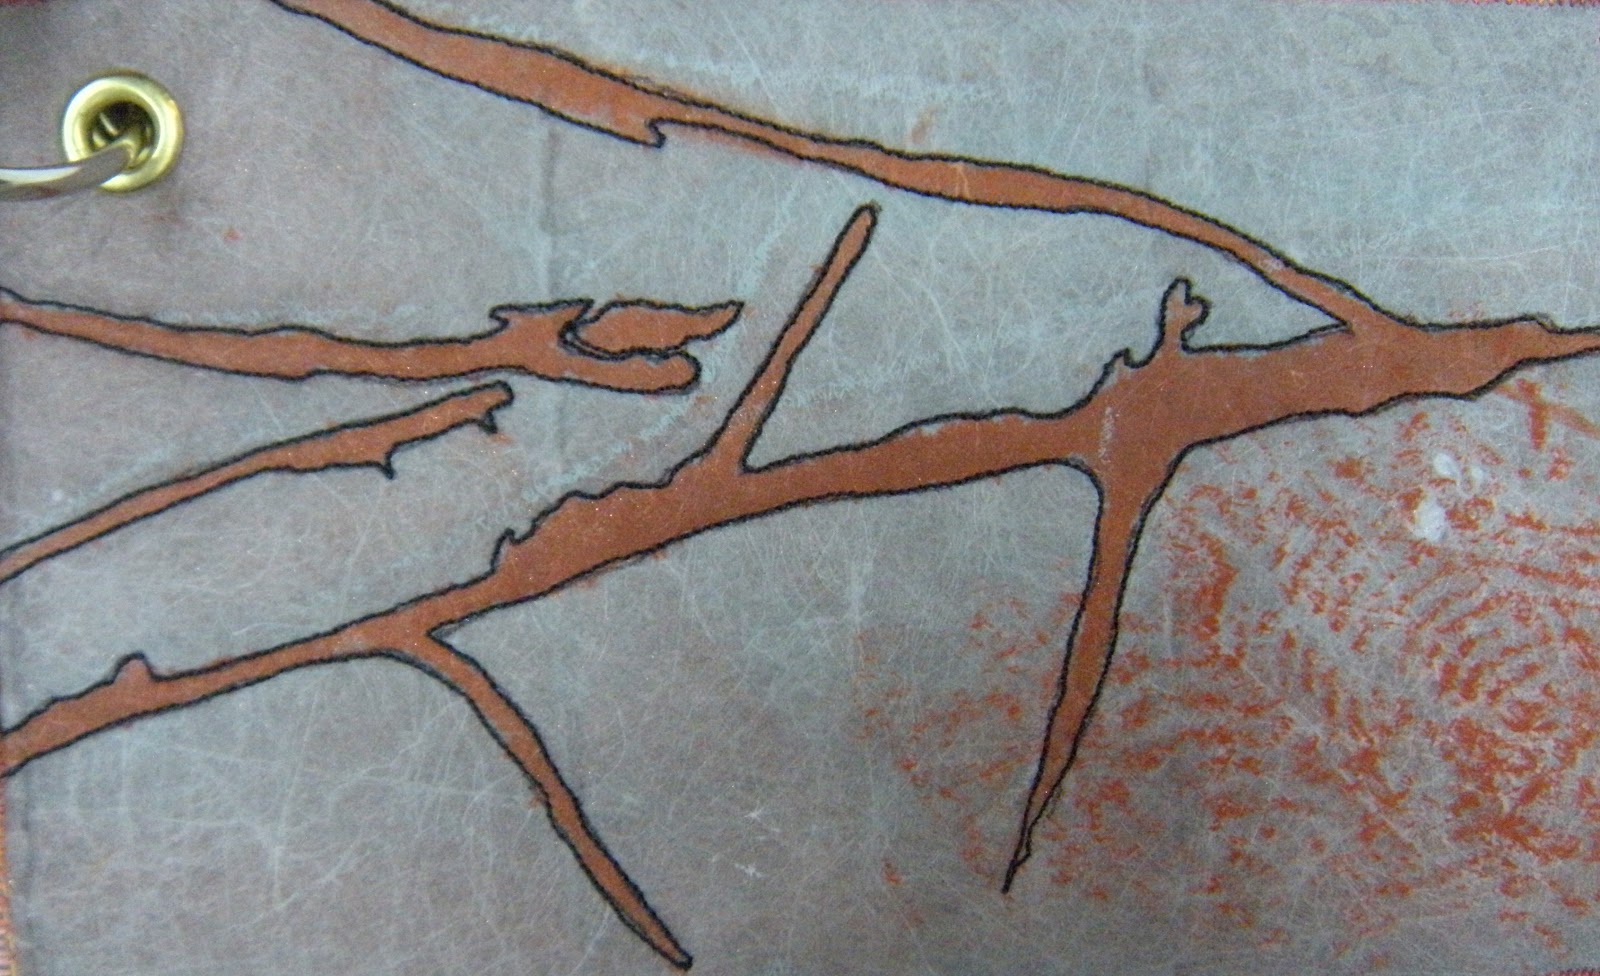
Already cut boarders were added.  The piece was then layered and machine quilted 1/4" from the seam lines.  I don't know if you can see, but the boarders were quilted too, every 1/4".  The result was a really traditional quilt.  About ten years ago I would have said that it was complete, but today, I'm not happy with just that.   A little bit of watered-down white acrylic was washed over the whole piece to tone down that stark brown calico.  Turquoise and brown circles of acrylic paint were added to the surface.  Black paint was splattered over top.  Next, Inka Gold Metallic Rub (by Viva Colour) was added as the last layer.   I may even feel compelled to add a bead or two.


Monday 20 May 2013

PAINT STICKS

A few days ago the Burlington Fibre Arts group played with Shiva Paint Sticks.  I had used them quite a while ago, and it was a nice refresher to take them out again.  We did lots of rubbings, but I liked using stencils the best.

The paint sticks were rubbed on an old styrofoam meat tray.  Stencil brushes rubbed into the colour pick up the paint, ready for transferring to fabric.


This was done using a commercial alphabet stencil.


Here, I used freezer paper cut out in letter shapes and ironed on to the base fabric.  A stencil brush filled with black paint was pounced over the freezer paper edge, then the freezer paper was peeled away creating the opposite effect from the piece above.


A circle stencil was used for this one.  I like the way it turned out - like floating bubbles.


"Lunar Eclipse" was created using the same stencil method.


Sunday 19 May 2013

ROUND-ROBIN DISCUSSION

Fabric dyeing was a recent round-robin discussion at a quilt guild to which I belong.  As only 15 minutes was allotted to give an overview of the topic, hands-on dyeing was out of the question.  Instead, each member of the guild was given a 2.5" square of white fabric, backed with a stabilizer and printed with the outline of a design.  Hundreds of fabric markers in all different colours were available to use for each of us to create our little square.  The squares were left behind and stitched together using black 1/4" sashing.  I love it!


Tuesday 7 May 2013

LUTRADUR

A few weeks ago the Burlington Fibre Arts group learned about Lutradur.  It's 100% polyester non-woven web - a cross between fabric and paper.  Jo was very kind enough to research the subject and prepare many examples of what could be done with it.  After a brief introduction, we were allowed to play.  I came home with the basics, but added to them over the past week.  Here's my sample book:


My name printed with Shiva paint sticks and stamp


Wool embellished into the Lutradur, mounted on velvet


Painted background, foiled, free-motion quilted


Painted Lutradur, cut in strips, then woven and stitched


Watered-down acrylic paint


Black acrylic paint, Sharpie marker, free-motion stitched


Painted and stamped, stitched charms


Painted with acrylics, stamped, foiled


Photo transfer on Lutradur, distressed with heat gun, free motion stitched


Painted with acrylics, melted Angelina fibres, machine-appliqued Shiva paint stick heart


Black acrylic paint, "hand" stamped (ha ha)


Orange and green acrylic paint, rubber stamped


Purple acrylic paint, black embossed leaves


Tree stencil, outlined with free-motion stitching; Shiva paint stick rubbing


Left-over strips from weaving, machine stitched to foundation


Ink-jet transfers using Golden medium, acrylic paint, distressed


When I paint, I make a mess and I use lots of paper towels.  After I clean up, I hang the paper towels to dry and try to use them in my art at a later date.  Here, I used them to back a couple of my Lutradur samples.


I felt that I could go on and on with stitching and embellishments of beads, wool, charms, but where do I stop?  After all, these are only samples.

Monday 6 May 2013

SASHIKO REVISITED

A little while ago I dabbled in Sashiko embroidery.  I stitched about a metre of fabric (a feat in itself) with the intent of making Japanese Sword Bags for a sword collector friend.  Well, I've finally completed that task and here they are. . . . .


Each bag is lined with Japanese cotton.  A tie of the same fabric was added.


Here are the two of them all wrapped up with the swords inside.


Sunday 5 May 2013

POSTCARD HOLDER

With being involved in many postcard swap groups, I've had to be innovative in finding ways to display the postcards that I've received.  

This "book" is made from plastic sheet protectors that you'd find at an office supply store.  The binder side of the protector was cut off to a similar size, now leaving two sides open.  Strips of left-over mixed media fabric were stitched to the short open side.  The protectors were then stacked with the open long side facing the same direction, and stitched through the centre, forming pockets.  Two postcards placed back to back can fit in one pocket.  The more page protectors stitched together, the larger the book. Cool huh?


Saturday 4 May 2013

POSTCARDS FROM THE EDGE

I've received lots of postcards in the last little while, but since my computer was sick I wasn't able to show them to you.

This lot is the "Purple" theme.  There are so many different ideas.


The background of this postcard is made from fabric salvedges.


I just love this little appliqued bird - so tweet!


Friday 3 May 2013

THE FARM

I was asked to do a wall-hanging for a friend's large kitchen.  She was quite specific as to what she wanted. It had to include a red barn, as her kitchen table was made from barn board.  

There were to be lots of sheep as her grandfather was a sheep farmer.  


Lots of orange foliage had to be in the background, as Fall is her favourite season.  And what is a farm with a horse or two?  


Also a few birds had to highlight the sky.  


The border was to be a pine colour to pick up the colour in her flooring and the binding had to be black to pick up the colour of her appliances.  


I think that after a few tries with colour, it was exactly what she had asked for.


Wednesday 1 May 2013

COLOURFUL POSTCARDS

This month's postcard exchange theme is "colour".  

I cut many circles of various silks and stitched them on a black cotton.  


 and free-motion stitched them on a background of foiled black cotton.


 I used green thread in top and bottom.  Here is the back after all the stitching was complete.


The whole piece was then cut up into eight 4"x6" sections.


Each section was then bound using a close zig-zag stitch.


I started out binding the cards with the same green thread, but there was TOO MUCH GREEN!  I switched to pink thread which seemed a little easier on my eyes.


I'm going to be a little early in my mailings, but the post does take quite a while to get to Africa.